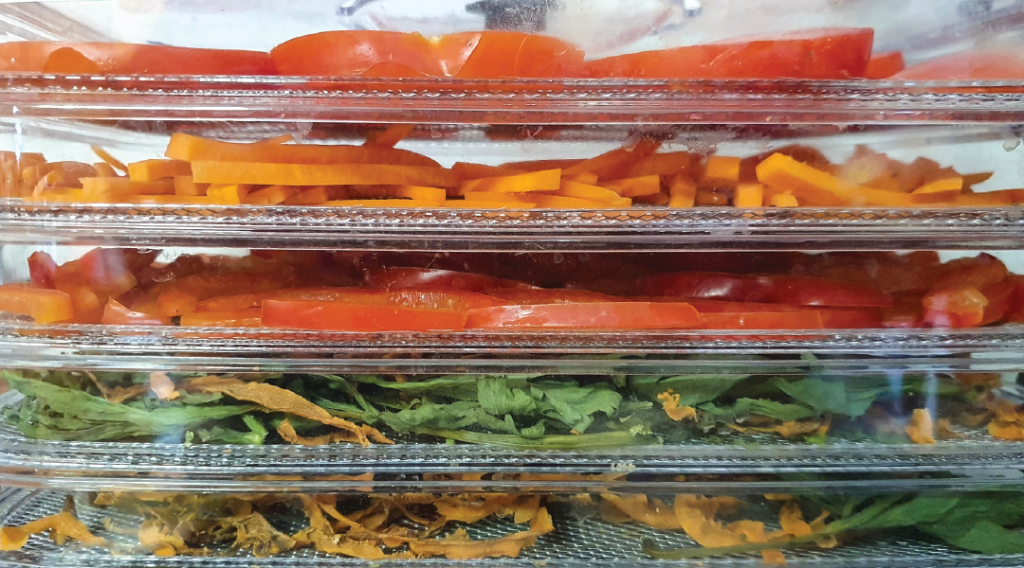
♨️ Dried Food
Keeping the Harvest Simply
Drying food does not always require special equipment.
Sometimes all it takes is time,
moving air,
a paper plate,
and a place where the harvest can quietly finish what it was already doing.
I have owned a dehydrator,
and dehydrators are wonderful tools.
I also use the oven when it makes sense.
But much of the time,
I keep things considerably simpler.
🍃 My Simple Drying Method
I like paper plates and paper sacks.
Paper allows moisture to escape rather than trapping it against the food,
and everything is easy to move,
separate,
label,
and check as it dries.
A Sharpie is indispensable.
Write down what it is and when you started it.
Because three days from now,
“I’m sure I’ll remember” will have become a surprisingly confident lie. 😂
When I’m drying something openly on a plate,
I loosely cover it with a paper towel to help keep flies
and other visitors away while still allowing air to move.
I check things regularly,
turn or rearrange them when necessary,
and give them the time they need.
🌿 Sometimes I Leave the Stem
I’ve found that some things dry beautifully when
I simply leave them attached to the stem or stalk they grew on.
Rather than immediately separating every berry,
leaf,
seed head,
or small piece from the plant,
sometimes I let the original structure hold everything while it dries.
Once thoroughly dry,
it can be removed and stored.
There is something wonderfully sensible about letting the plant
be its own drying rack.
🍇 Berries, Grapes & Juicier Foods
Foods with a protective skin can need a little help before drying
because that skin is designed to hold moisture in.
For berries or grapes,
I sometimes briefly heat them in boiling water before drying them.
The purpose isn’t really to cook them;
it is to help break or crack that outer skin so moisture can escape more readily.
Then I drain them well before beginning the drying process.
For different fruits,
the appropriate preparation can vary,
so this is one of those places where the food itself matters.
🔥 Using the Oven
When air-drying isn’t appropriate
or I simply want the process to move along
I use the oven.
A low temperature and good airflow are the important pieces.
Depending on the oven,
that may mean using its lowest setting
and occasionally opening the door briefly to allow accumulated moisture to escape.
Because ovens vary considerably,
I watch the food rather than relying entirely on the clock.
♨️ Using a Dehydrator
I don’t currently have a dehydrator,
but I have used one in the past.
A dehydrator makes the process wonderfully straightforward because
it is designed to provide the two things drying food needs most:
gentle heat + moving air.
Arrange the food so air can circulate around it,
follow the dehydrator’s recommendations for the particular food,
and check it as it approaches dryness.
🫙 Before It Goes Into the Pantry
This is the part I would not rush.
Food needs to be thoroughly dried before being sealed for storage.
Moisture trapped inside a container can encourage mold and spoilage.
Let dried food cool completely before packing it away.
If you’re uncertain whether something is dry enough,
give it more drying time rather than sealing it while it is still questionable.
And, of course:
Label it.
Because apparently a Sharpie is also a food-preservation tool. 😂
The Keeper’s Note
Preserving food doesn’t have to begin with equipment.
Sometimes preservation is simply paying attention:
What does this food need?
Where is the moisture hiding?
And how can I help it leave?

